
Upcycling is not just a trend; it’s a movement. It’s about seeing potential where others see waste. And in the realm of home décor, revamping old furniture is the epitome of upcycling’s magic. From an antique dresser begging for a fresh coat of paint to a tired wooden chair that needs some love, the possibilities are endless. This guide will journey you through the art and science of breathing new life into old pieces, transforming them into masterpieces.
1. Start With A Vision: Inspiration is Everywhere
Before the dust from sanding or the scent of paint fills the air, it’s vital to know the direction you’re heading in. Starting without a clear vision can lead to mid-project changes, wasted materials, and frustration.
- Draw Inspiration: Delve into platforms like Pinterest, Instagram, or home décor magazines. Each of these platforms can be considered goldmines of creativity.
- Mood Boards: Consider creating a mood board. Here, images, fabric swatches, paint chips, and other inspirational elements can be collated.
- Visualize: Try to visualize the end product in the space it will occupy. Will that bold color complement its surroundings or clash? It’s essential to think of the broader setting.
2. Assess the Item’s Condition: The Devil is in the Details
Every old piece of furniture has a story. However, some might be too worn to rewrite.
- Structural Stability: Push and pull the item. If it wobbles, it might need reinforcing.
- Surfaces: Check the piece for deep scratches, dents, or chipping. Minor imperfections can add character, but significant damages might need addressing.
- Historical Value: Occasionally, an item might have antique value. Before making any alterations, it’s worth checking.
3. Gather Your Supplies: The Upcycler’s Toolkit
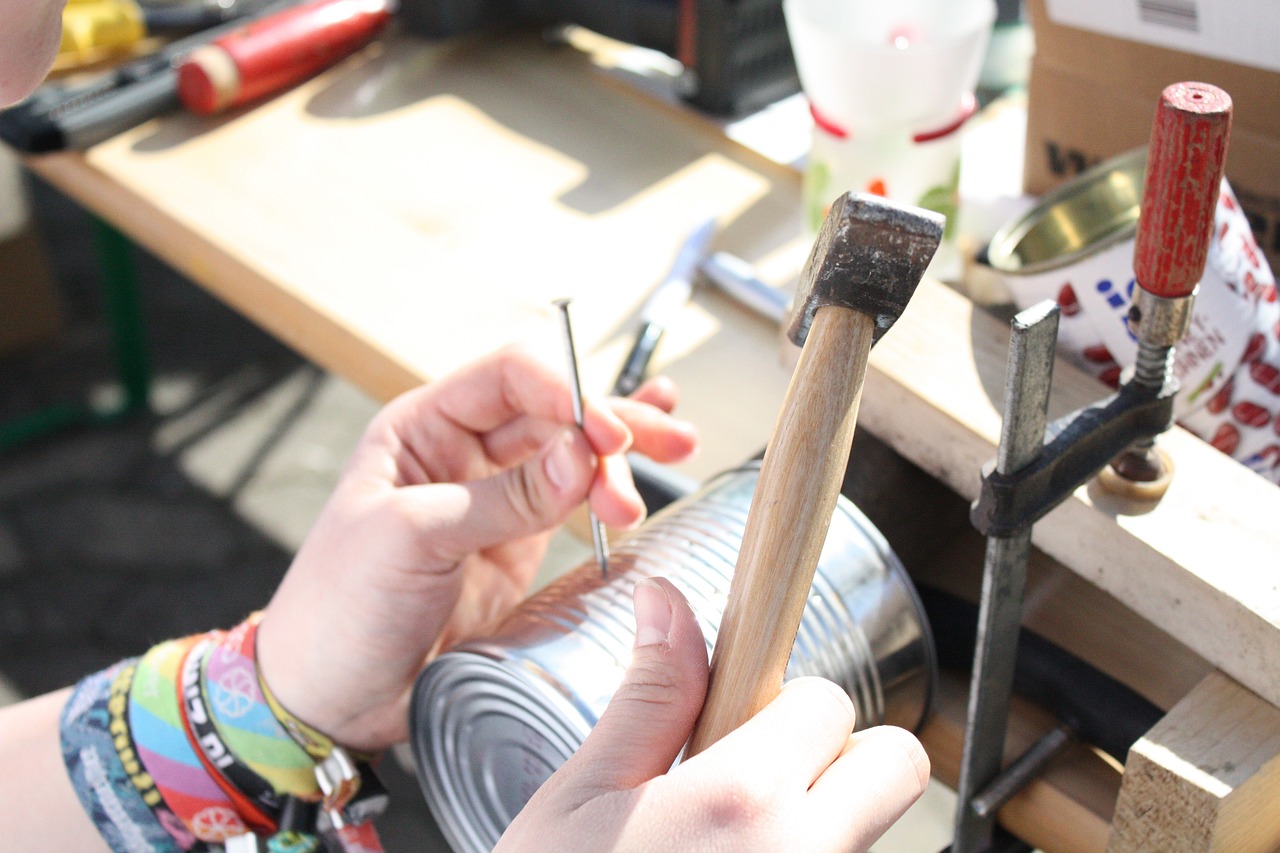
The right tools can make or break your upcycling project. Having everything on hand can keep the momentum going.
- For Sanding:
- Variety of sandpapers: coarse (40-60 grit), medium (80-120 grit), fine (150-180 grit)
- Sanding blocks or electric sanders for larger pieces
- For Painting:
- Primer: essential for pieces that have a glossy finish or dark paint
- Paint: chalk paint, milk paint, or furniture paint are popular choices
- Brushes: invest in quality brushes; they make a significant difference
- Additional Supplies:
- Sealants: wax (for a matte finish) or polyurethane (for more durability)
- Replacement parts: knobs, handles, or even new legs can change the entire look
4. Prepping the Piece: Lay a Solid Foundation
Behind every gorgeous upcycled piece is hours of meticulous preparation, often overlooked in the final admiration.
- Cleaning: Generations of dust, old polish, and grime must be removed. A mixture of warm water and mild detergent works wonders. After cleaning, a thorough drying period is crucial.
- Sanding:
- For painted pieces, sanding helps remove chipping paint and ensures the new coat adheres better.
- For unpainted wood, start with a coarse grit and work your way to a finer one. This process ensures a smooth finish and better paint or stain adherence.
5. Get Painting or Staining: The Transformation Begins
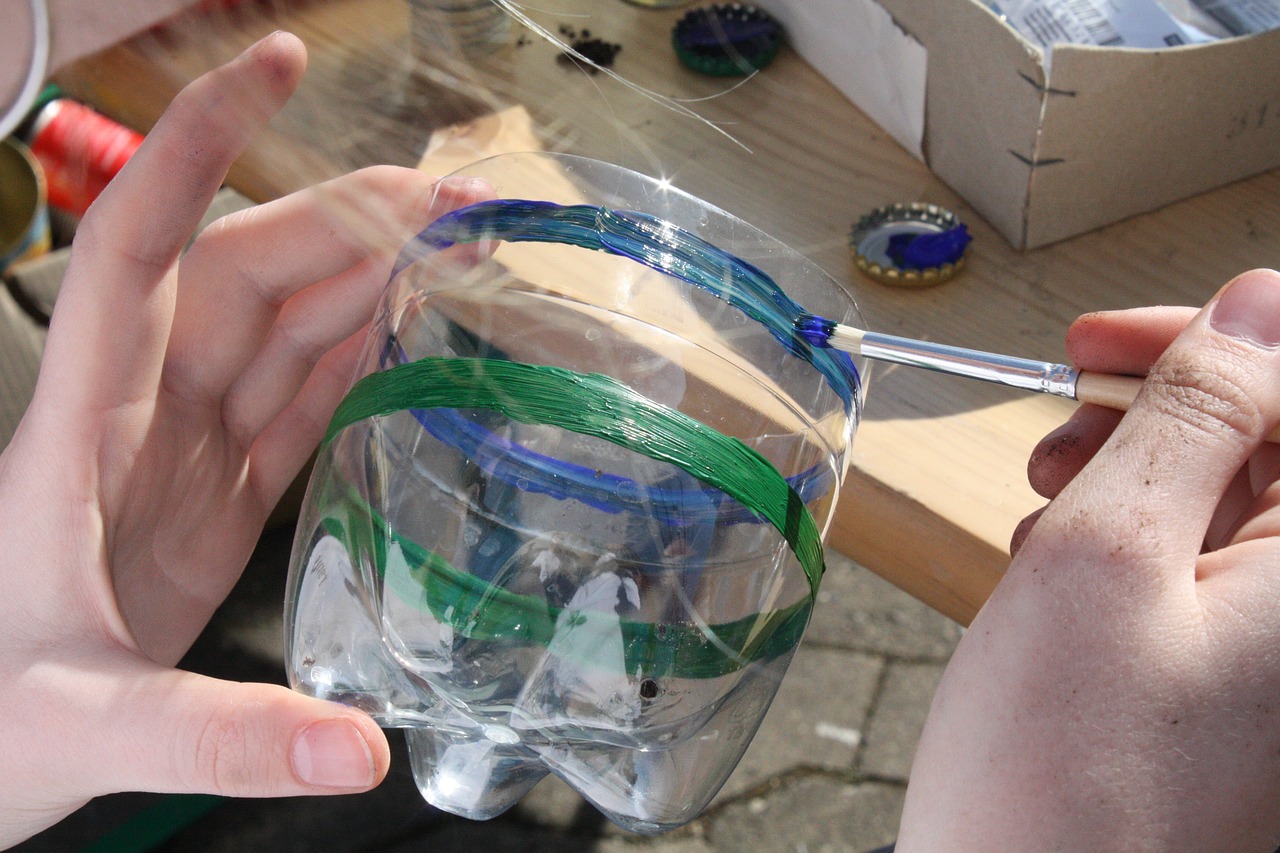
This is where the magic happens. The piece begins its transformation, taking on a new identity.
- Choosing Paint vs. Stain:
- Paint: Provides a fresh, often contemporary look. From matte to high gloss, the options are diverse.
- Stain: Emphasizes the wood’s natural grain. It offers a more rustic, natural feel.
- Application:
- Always start with thin, even coats, allowing ample drying time in between.
- For a distressed look, after the paint dries, gently sand the edges and corners.
6. Add Finishing Touches: The Cherry on Top
This is the stage where your piece goes from looking good to looking spectacular.
- Guarding Your Creation: While waxes glide on with ease and bestow a gentle luster, polyurethanes step up, ensuring a robust and lasting shield.
- Refinements in Detail: It’s often the minute adjustments that usher in the most profound impacts. Trading old-fashioned knobs for contemporary designs, or the opposite, breathes new essence into the item.
7. Step Back and Marvel: A Testament to Your Effort
When the remnants of the project have been cleared and the paint stands firm, take a moment to immerse yourself in the brilliance of what you’ve crafted.The realm of upcycling brings forth a unique joy, rooted in the realization that you’ve rejuvenated a once-forgotten item. This isn’t just about adding a standout piece to your space; it’s also a nod to sustainability. Embracing upcycling is a gift to the earth and nourishment for one’s spirit. In this creative journey, there are no strict guidelines. Every creation has its tale, and armed with this guide, you’re poised to pen a captivating chapter.